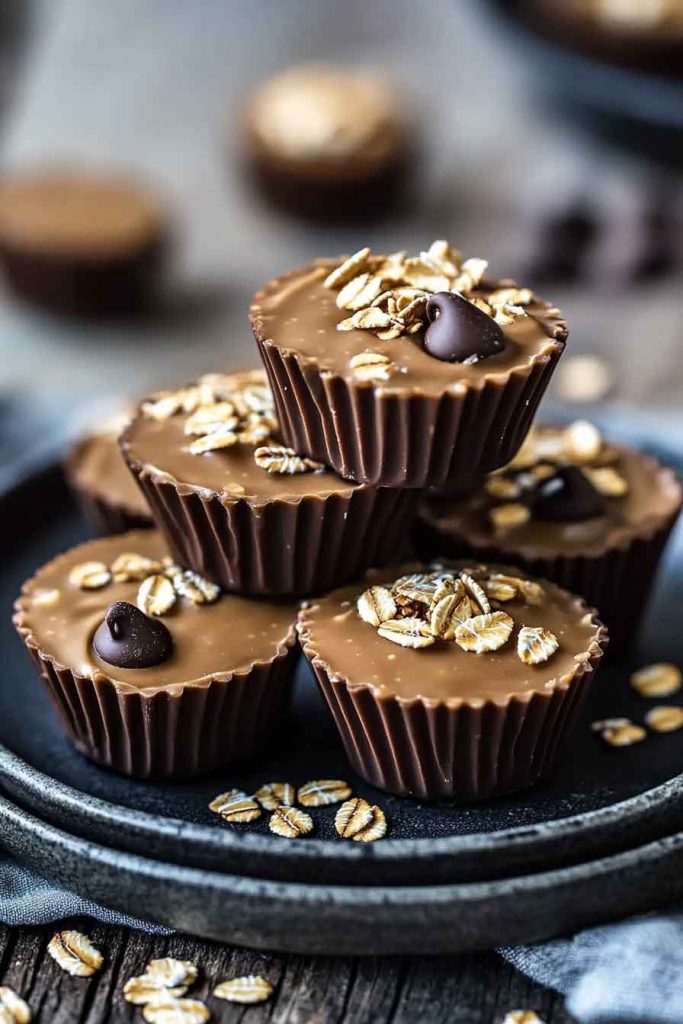
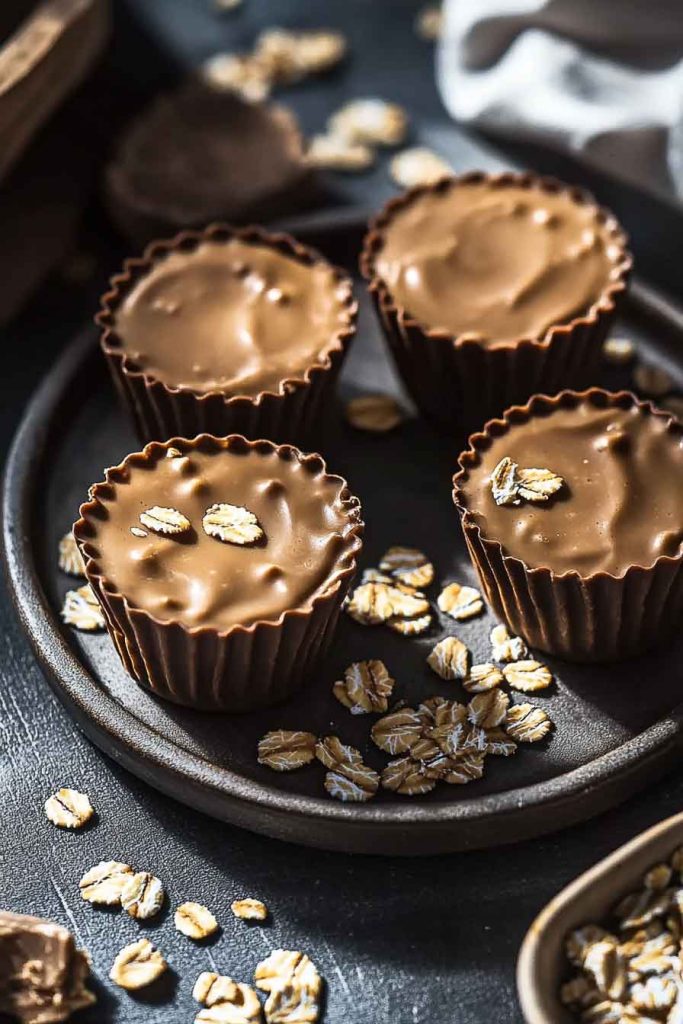
The peanut butter is creamy and rich, while the oats add a chewy bite that makes these cups feel hearty and sweet. They taste like a little treat but still keep you full.
I whipped up these No Bake Peanut Butter Oat Cups on a hot day when I didn’t want to turn on the oven. They came together so fast, and I loved keeping them in the fridge for quick snacks.
If you like easy sweets that feel cozy and satisfying, this recipe is for you. Let’s stir, press, and chill these cups until they’re ready to enjoy.
Why You’ll Love This Recipe
- Super Easy: No baking needed – just mix and chill!
- Kid-Friendly: Safe to make with little helpers since there’s no hot oven.
- Quick to Make: Ready to eat in just 15 minutes of prep plus chilling time.
- Healthy Treats: Made with oats and natural peanut butter for good energy.
- Perfect for Parties: Makes 12 cute cups that everyone will love.
What You Need to Know Before You Start
Prep Time & Chill Time:
- Prep Time: 15 minutes
- Chill Time: 30 minutes
- Total Time: 45 minutes
Servings: This recipe makes 12 peanut butter oat cups. Perfect for sharing with family or friends. Want more? Just double everything and use two muffin tins.
Difficulty: Super easy! Even kids can help make these treats. No cooking skills needed.
Required Kitchen Tools
- 1 muffin tin (12 cups)
- Paper cupcake liners or cooking spray
- 1 large mixing bowl
- 1 wooden spoon or spatula
- Measuring cups and spoons
Ingredients for No Bake Peanut Butter Oat Cups
These simple ingredients come together to make the most amazing no-bake treats. You probably have most of these in your kitchen right now!
Here’s what you’ll need to make these yummy cups (exact amounts are in the recipe card below):
- Rolled Oats: Use old-fashioned oats for the best chewy texture. Quick oats work too but won’t be as chewy.
- Peanut Butter: Creamy peanut butter works best, but crunchy adds extra texture if you like it.
- Honey: Natural sweetener that helps everything stick together.
- Maple Syrup: Adds extra sweetness and helps bind the mixture.
- Dark Chocolate Chips: For little bursts of chocolate goodness in every bite.
- Vanilla Extract: Makes everything taste even better.
- Salt: Just a tiny bit to make all the flavors pop.
Variations for Peanut Butter Oat Cups
- Add Coconut: Mix in shredded coconut for a tropical twist.
- Try Different Nuts: Use almond butter or sunflower seed butter instead of peanut butter.
- Add Dried Fruit: Throw in some raisins or dried cranberries for chewy sweetness.
- Make Them Bigger: Use a regular muffin tin instead of mini cups for larger treats.
- Add Cinnamon: A pinch of cinnamon makes them taste like oatmeal cookies.
How to Make No Bake Peanut Butter Oat Cups Step-by-Step Instructions1. Get Ready
Line your muffin tin with paper liners or spray with cooking spray. This makes it easy to get the cups out later.
2. Mix the Wet Stuff
In a large bowl, stir together peanut butter, honey, maple syrup, and vanilla extract. Mix until smooth and creamy.
3. Add the Dry Stuff
Add the oats and salt to the peanut butter mixture. Stir everything together until all the oats are covered with the peanut butter mix.
4. Add Chocolate
Fold in the chocolate chips gently. Try not to break them up too much.
5. Fill the Cups
Scoop the mixture into your muffin tin cups. Press down gently with the back of a spoon to pack them in.
6. Chill and Enjoy
Put the muffin tin in the fridge for at least 30 minutes. The cups will get firm and hold their shape. Then they’re ready to eat!
How to Serve Peanut Butter Oat Cups
These tasty cups are perfect for many occasions:
- After School Snack: Kids love these healthy treats after a long day.
- Party Treats: Great for birthday parties or play dates.
- Lunch Box: Pack one in lunch boxes for a sweet surprise.
- Movie Night: Perfect for munching while watching films.
- Breakfast: Yes, they’re healthy enough for breakfast too!
Storing Peanut Butter Oat Cups
- In the Fridge: Keep cups in a container in the fridge for up to 1 week. They taste best cold.
- Room Temperature: They can sit out for 2-3 hours but will get softer.
- Freezing: Freeze for up to 2 months in a freezer bag. Thaw for 10 minutes before eating.
Tips and Tricks for Success
- Make sure your peanut butter is smooth and easy to stir. If it’s too thick, warm it up for 10 seconds in the microwave.
- Press the mixture firmly into the cups so they hold together well.
- Don’t skip the chilling time – this helps the cups get firm.
- If the mixture seems too dry, add a little more honey or maple syrup.
- For extra chocolate flavor, drizzle melted chocolate on top before chilling.
Nutrition
| Nutrient | Amount |
|---|---|
| Calories | 145 |
| Protein | 4g |
| Carbs | 18g |
| Fat | 7g |
| Fiber | 2g |
| Sugar | 10g |
| Sodium | 45mg |
No Bake Peanut Butter Oat Cups
- Prep Time: 15 minutes
- Cook Time: 30 minutes
- Total Time: 45 minutes
- Yield: 12 cups 1x
Ingredients
- 2 cups (160g) rolled oats
- 1/2 cup (128g) creamy peanut butter
- 1/3 cup (80ml) honey
- 2 tablespoons (30ml) maple syrup
- 1/2 cup (85g) dark chocolate chips
- 1 teaspoon vanilla extract
- 1/4 teaspoon salt
Instructions
- Prepare Pan: Line a 12-cup muffin tin with paper liners or spray with cooking spray.
- Mix Wet Ingredients: In a large bowl, stir together peanut butter, honey, maple syrup, and vanilla until smooth.
- Add Oats: Add rolled oats and salt to the peanut butter mixture. Stir until all oats are coated.
- Fold in Chocolate: Gently fold in chocolate chips until evenly distributed.
- Fill Cups: Divide mixture evenly among muffin cups. Press down firmly with the back of a spoon.
- Chill: Refrigerate for at least 30 minutes until cups are firm.
- Serve: Remove from muffin tin and enjoy! Store leftovers in the refrigerator.
No Bake Peanut Butter Oat Cups FAQs
Yes! Use all maple syrup instead of honey. You can also try agave syrup.
Try chopped nuts, dried fruit, or mini marshmallows instead.
Yes, but the texture will be less chewy. Old-fashioned oats work best.
The mixture might be too dry. Add a bit more honey or peanut butter and press firmly into cups.
Conclusion
These No Bake Peanut Butter Oat Cups are the perfect treat when you want something sweet without turning on the oven. They’re healthy, easy to make, and kids love helping in the kitchen. With simple ingredients you probably have at home, these cups come together in minutes and taste amazing.